
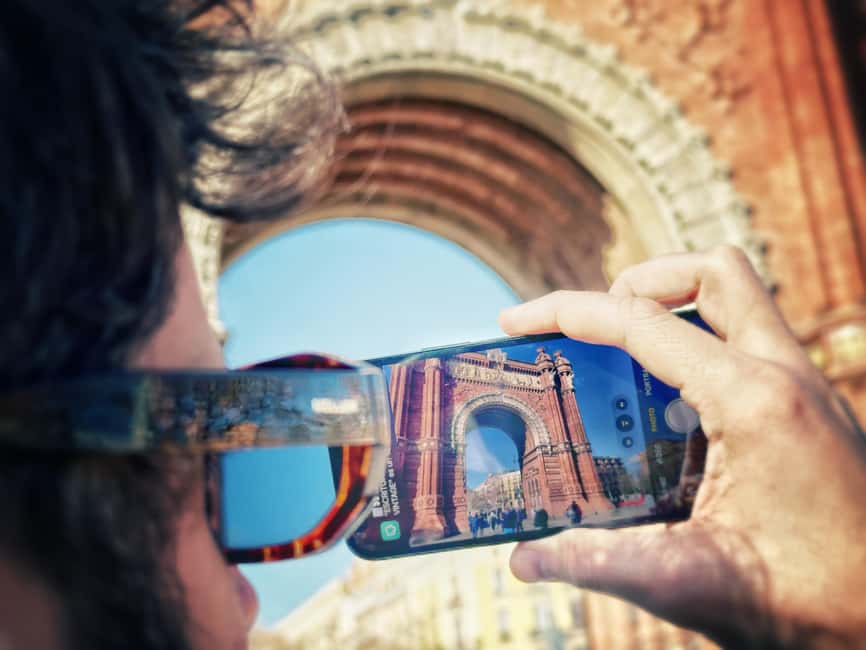
REVIEW · BARCELONA CITY TOURS
Barcelona: Phone Photography Tips & Tricks – Park & Old Town
Barcelona’s best camera lesson starts in the street. This 2.5-hour, hands-on class focuses on how to frame, position, and shoot with your phone, then walk you through quick edits so your photos actually look intentional. I really like the way it uses real locations like Ciutadella Park and the medieval lanes of El Born, not a classroom demo.
The other thing I like is the practical teaching style from Onno, who doubles as your Barcelona guide. You skip the usual camera math, and you learn the stuff that makes people photos, building shots, and street scenes work, including zoom-magic and easy camera habits you can keep using long after the tour ends.
One consideration: this is built around iPhone-style habits, so if your phone is older or very basic, you might feel a little less payoff. The good news is it still works with any smartphone, it just tends to go better on higher-end Androids and iPhones.
Key things you’ll notice fast
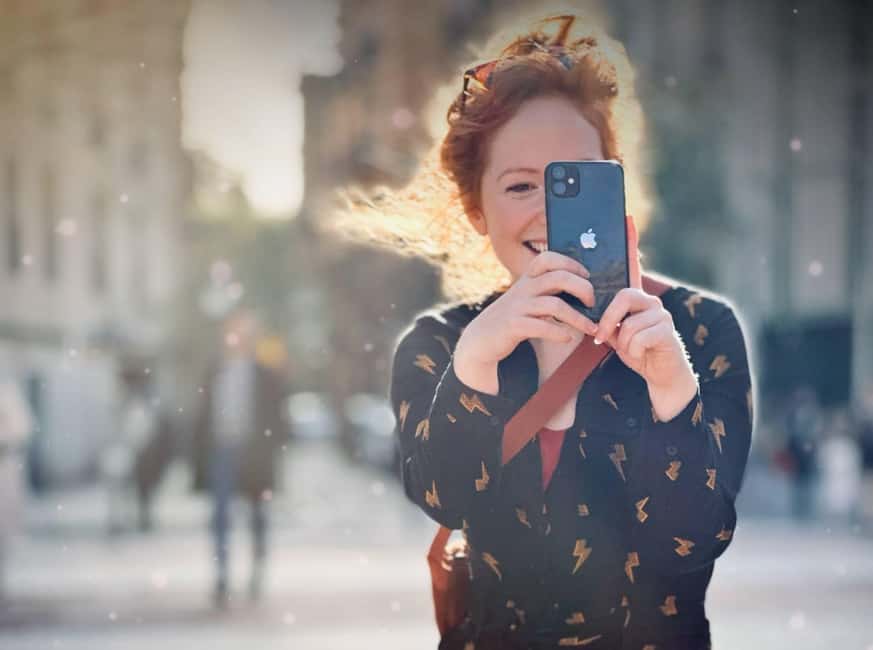
- Meet Onno at Arc de Triomf with a white umbrella under the arch
- Framing and positioning first, so your photos improve on day one
- Ciutadella Park practice with fountain, sculpture, palms, and lens experiments
- El Born street photography in medieval lanes, courtyards, and side streets
- Editing with phone basics plus how to pick stronger shots
- Interactive mini-challenges that make you look at scenes differently
Why this phone photo class feels different in Barcelona
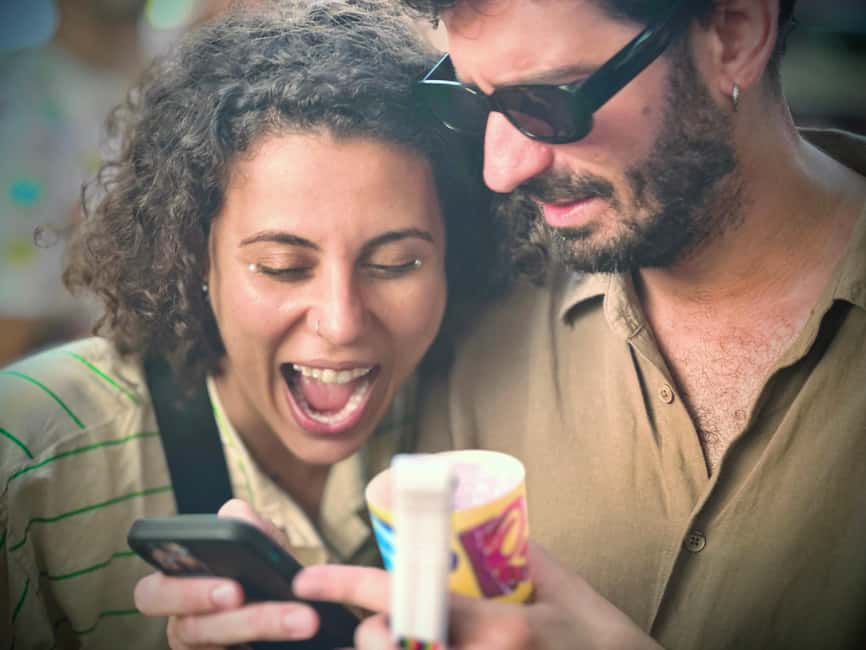
Barcelona is full of beautiful corners, and that can trick you into thinking good photos are just a matter of walking around more. This class flips that. You learn how to see like a photographer, then you practice immediately in places you would actually want to return to.
I like that it treats your smartphone as a real camera, not a gadget you hold up and hope for. You work on framing, composition, angles, and posing, which sounds simple, until you watch how much those choices change a photo.
Price is $28 per person for 2.5 hours, and the value comes from the guided practice. You are not just paying for a walk, you are paying for someone to coach you while you shoot at multiple Barcelona hotspots, then help you clean up and choose your best images at the end.
You can also read our reviews of more photography tours in Barcelona



Finding your guide under the Arc de Triomf umbrella
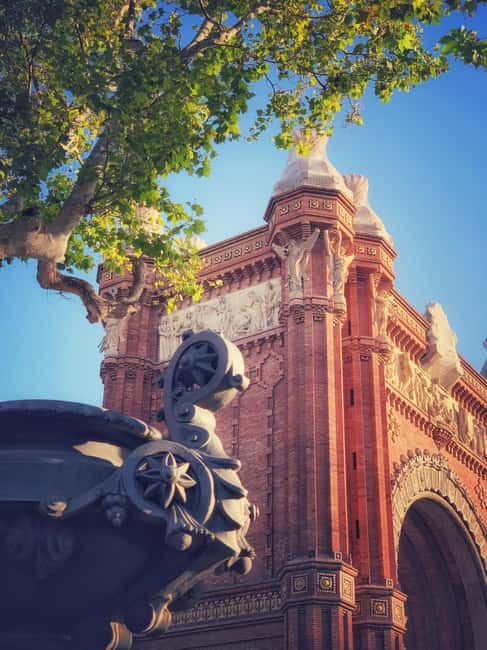
The tour begins where you can actually spot your guide, at Arc de Triomf. Your instructor will be waiting under the arch with a white umbrella, so you are not wandering around trying to guess who the teacher is.
This matters more than it sounds. The faster you get started, the less time you waste holding your phone on selfie mode and calling it a day.
Once you meet Onno, you start with the foundation: framing and positioning. The lesson is designed to be easy to apply right away. Expect quick explanations, then hands-on practice where you move a step, change your angle, and suddenly your background stops stealing the show.
If you like structure, this is the kind of class that gives you a repeatable method. If you like freedom, you still get plenty of time to experiment, but with a plan so your experiments do not turn into random shots.
Ciutadella Park: fountain drama, mammoth sculpture, and zoom-magic
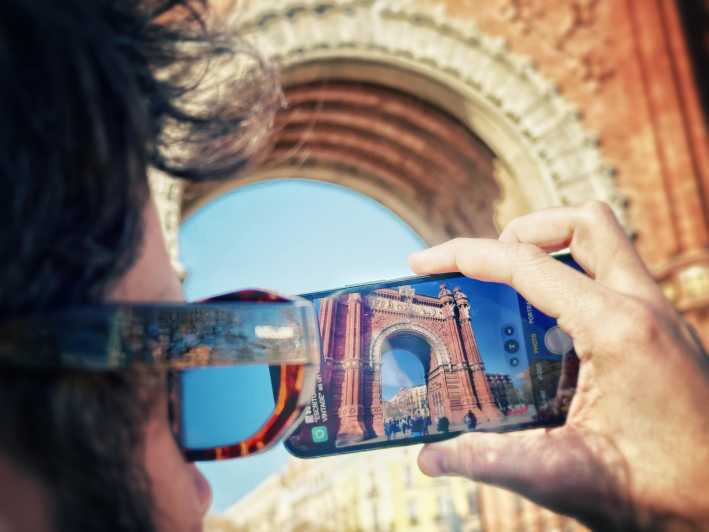
Next you head to Ciutadella Park, one of Barcelona’s big open-air photo playgrounds. The setting gives you range in a short time, from big, showy architecture to smaller details like plants and palms.
You will practice with the park’s major backdrops: the massive fountain, the mammoth sculpture, and the Jurassic palms and trees. That combination is perfect for learning because it forces you to think about scale. A phone can handle it, but only if you control framing so the subject reads clearly.
This is also where the class gets fun. You experiment with the idea behind zoom-magic. Instead of obsessing over technical settings like aperture, ISO, or shutter speed, you learn how to use your phone’s lens options and zoom behavior to shape the photo. The result is more dramatic compositions, less clutter, and backgrounds that feel intentional.
And it is not just the view. It is how you approach it. You practice angles, then you practice distance. One step closer can turn a chaotic scene into a clean portrait. One step to the side can make a fountain feel bigger and more cinematic.
For me, the big win here is that the park gives you immediate feedback. You can compare shots right away and see how framing choices change the story.
El Born medieval lanes: people shots, courtyards, and buildings
After the park, you move into El Born, the medieval old-town neighborhood with narrow streets and small courtyards. This is where street photography becomes real, because you are dealing with people, architecture, and tiny sightlines all at once.
The class focuses on street photography and also on building photography. That means you learn how to photograph stone and details without turning every building photo into a bland postcard. You also learn how to include people in a way that adds life, not noise.
One reason this stop gets top marks is the hands-on feel. You do more than listen. You practice posing and learn simple ways to get people to look natural. You also get mini-challenges that push you to try unusual frames, like shooting through openings or using the environment as a border.
Courtyards are especially useful for this part of the lesson. They teach you how to use lines, walls, and shadows to guide the eye. When you photograph architecture this way, your shots look composed even when you are moving quickly through the streets.
You will also start thinking about composition as you walk. That is the real skill. After a while, you stop treating each street as a blank background and start seeing it as a series of frames waiting for you.
Editing on your phone: pick better shots, then polish
The tour finishes with a drink and then a quick lesson on phone editing. This is not an endless editing session. It is a practical wrap-up so you leave with photos that look finished, not just captured.
What I like about including editing is that it matches how phone photos usually end. You take a lot, but only a few feel right. The instruction helps you look critically at what you shot and choose stronger images instead of posting the first thing that looks good on your screen.
You learn quick, simple edits. The goal is not to turn your photos into something fake. The goal is to make your subject clearer, colors calmer, and the photo feel more like what you saw in the moment.
If you tend to overthink editing later, this part saves you time. You get a starting point while your photos are fresh in your mind, and you learn how to improve without going down a rabbit hole of settings.
Also, you get a natural moment to decompress. Walking fast for 2.5 hours makes you want a break, and the drink stop gives you that. Then you can do editing with a clear head.



What you actually learn (and why it sticks)
This class is built around core habits that carry over. It is not about memorizing camera jargon.
Here is the skill set you will be working on:
- Framing and composition so your photos have structure
- Posing so your images include people that look comfortable
- Camera modes and how to choose them for the scene you see
- Editing with quick phone tools for a final touch
- Street photography habits for public scenes
- Building photography habits for details, lines, and shapes
The reason these lessons stick is that you practice them on the same day in the same city. You are not learning theory at a keyboard. You take the shot, then you adjust your approach, then you take another.
Onno also explains the why behind the tips, which makes the techniques feel like part of your thinking rather than random rules. That is why people walk away feeling more confident with their phone, not just impressed by one good photo.
If you are the type who loves taking pictures but forgets everything the moment you switch locations, this format helps. You build momentum at Arc de Triomf, keep applying it in Ciutadella, and then pressure-test it in El Born.
Who this tour is perfect for
This is a great fit if you want better photos without a heavy gear setup.
You will likely enjoy it if:
- You use an iPhone and want to understand how to get more out of it
- You have a higher-end Android and want practical coaching
- You want to improve street and architectural photos, not just selfies
- You like interactive lessons where you practice immediately
- You want a skill you can reuse across your whole trip
It is also a good first photography experience in Barcelona because you learn early. The class makes a noticeable difference for what you photograph later, because you start seeing framing options you missed before.
If you are already a serious photographer with a lot of experience, you may still find it useful, mainly as a fast, practical system for phone shooting in real city settings.
Price value: $28 for coaching at multiple Barcelona photo spots
At $28 per person for 2.5 hours, the pricing feels fair for what you get: an expert photography teacher who is also a Barcelona guide, plus hands-on coaching at several major, photogenic locations.
The real value is the ratio of instruction to wandering. You are guided from place to place, and each stop has a clear purpose: learn, shoot, adjust, repeat.
You are not paying to carry a camera bag. You are paying for someone to help you use the camera you already have. And because the class covers framing, positioning, posing, zoom use, and quick editing, it solves the most common phone photo problem: photos that look like snapshots instead of small stories.
Bring a charged smartphone and you are set. You do not need to buy anything, and the class does not require you to bring a separate camera.
Quick tips before you go, so you get more out of 2.5 hours
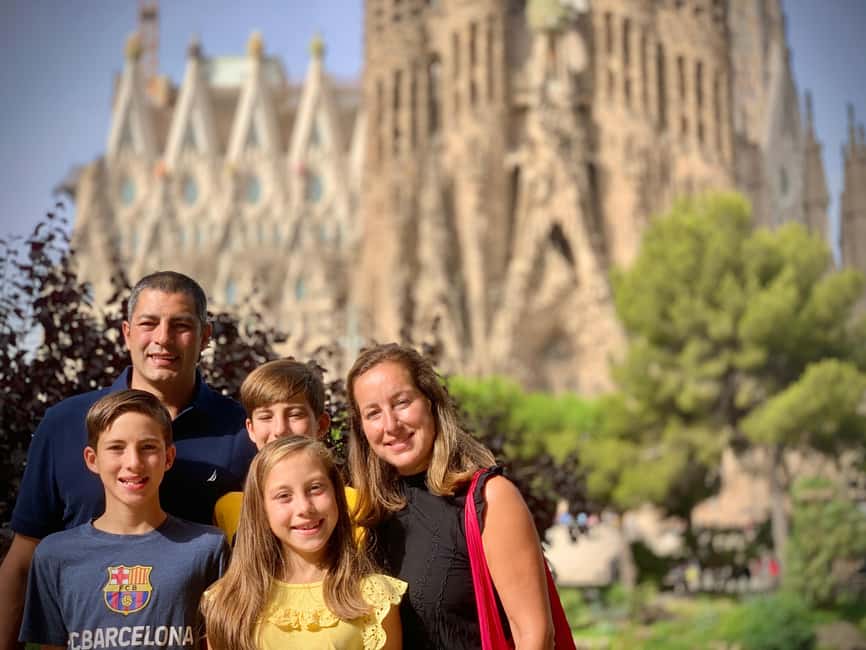
If you want the biggest payoff, do these simple things before meeting under the Arc de Triomf arch:
- Charge your phone fully, and bring enough battery life for a lot of shooting
- Clean your lens if your photos often look slightly hazy
- Take a few test shots in advance, just to confirm your camera is working normally
- Be ready to move. Some of the best framing changes come from one step, not new equipment
During the tour, pay attention to what you change between shots. If your photo looks wrong, do not only blame lighting. Ask yourself if your subject is centered, if the background is competing, and if your angle makes the subject feel clear.
Should you book this Park and Old Town phone photography class?
Yes, I think you should book it if you want phone photos that look planned and confident, and you like learning by doing. Meeting Onno at Arc de Triomf with the white umbrella is easy, the practice locations make sense, and the lessons focus on the stuff you actually need to improve fast.
Book it early in your Barcelona trip if you can. You will walk away with habits you can use all week, and the quick editing at the end helps your images finish strong instead of feeling unfinished.
If you only want a casual stroll and do not care about shooting better pictures, you might prefer a standard guided walk. But if you want real technique for your phone camera, this one is a solid use of your time and money.
FAQ
Where does the tour meet?
You meet your instructor/guide underneath the arch of Arc de Triomf, with a white umbrella.
How long is the class?
It lasts 2.5 hours.
Do I need to bring a camera?
You should bring your charged smartphone. A camera is not included.
Will this work with my phone if I do not have an iPhone?
The class is suitable for any smartphone, but it is better suited to iPhones and higher-end Androids.
What places will you visit?
You start around Arc de Triomf, then head to Ciutadella Park, and finish in the medieval streets of El Born, returning to the meeting point.
Can I cancel?
Yes. You can cancel up to 24 hours in advance for a full refund.
More Photography Tours in Barcelona

More Tour Reviews in Barcelona
Not for you? Here's more nearby things to do in Barcelona we have reviewed









More Barcelona City Tours worth opening.
 ★ 4.4Park Güell Admission TicketFrom $2576,534 reviews
 ★ 4.7Casa Batlló Entry with Self-Audioguide TourFrom $3425,359 reviews
 ★ 4.424 or 48-Hour Hop-On Hop-Off Bus TourFrom $3920,872 reviews
 ★ 4.7Park Guell Guided Tour with Skip The Line EntryFrom $3117,563 reviews
 ★ 5.0Barcelona in 1 Day: Sagrada Familia, Park Guell,Old Town & PickupFrom $12013,541 reviews
 ★ 4.3Barcelona Aquarium: Entry TicketFrom $3113,335 reviews
 ★ 4.8Sagrada Familia Skip-the-Line Entry Ticket & TourFrom $6712,789 reviews
 ★ 4.4FC Barcelona Museum “Barça Immersive Tour” TicketFrom $3510,944 reviews
Continue by place or experience